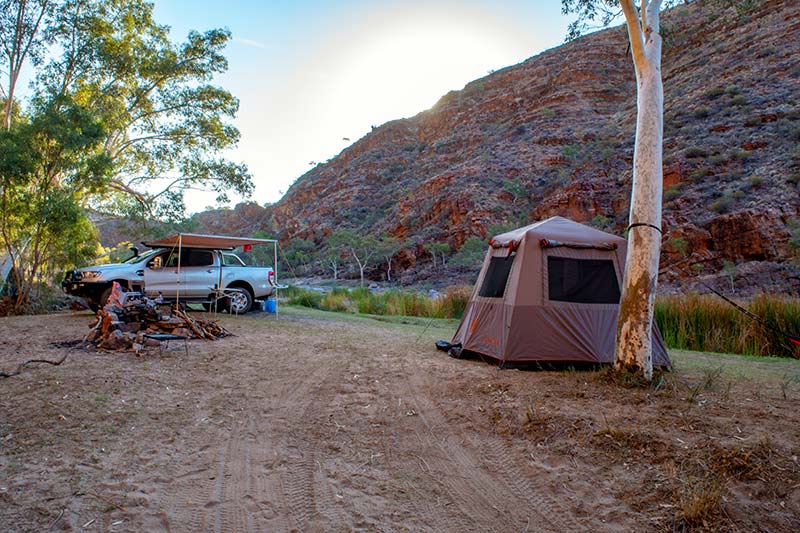
Two kilometres from our campsite at Ruby Gap in the East MacDonnell Ranges, the more remote but equally beautiful sister of the West MacDonnell Ranges in Central Australia, a dreaded warning light came on.
‘Low tyre pressure’ flashed on the dash. Bugger. We were aware of a screw that had lodged itself in one of our tyres a couple days prior but hadn’t gotten around to sorting it out. Well, now we had to. It was your classic Central Australia day (clear blue sky, unseasonably warm for the end of winter) – not ideal weather for changing a flat tyre. Luckily the screw was in the tread, not the sidewall, so we had the option of trying to plug the tyre instead of resorting to the spare.
We had learned how to plug a tyre from a fellow traveller not too long ago, so we figured this was the perfect opportunity to put this new-found knowledge to the test.
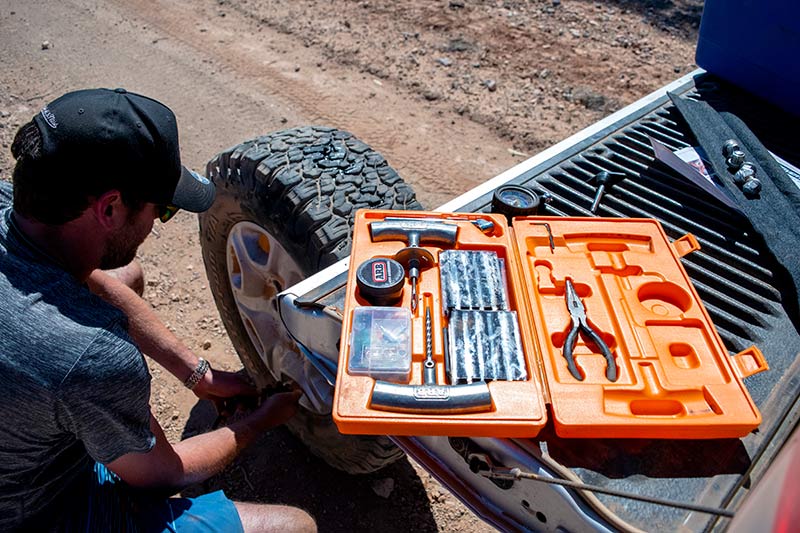
We pulled our tyre repair kit from its spot underneath the driver’s seat. Once we had taken everything out of its packaging for its very first use, we got to work. Using the reamer tool, we cleared out the puncture of any debris and enlarged the hole a bit to make room for the plug.
Then, we threaded the cord through the insertion tool and, after applying a bit of lubricant, inserted it into the hole, making sure to leave the ends of the cord exposed. The insertion tool has a handy release mechanism to take out the tool and leave the cord behind, as long as we made sure to pull straight out from the hole.
Finally, we trimmed the ends of the cord so there were no bits left sticking out of the tyre. Once that was done, we used our air compressor to pump the tyre back up, whacked it back onto the car, and hoped for the best as we continued on our way to Ruby Gap. Amazingly, that plug lasted for the rest of the tyre’s life – about another 25,000km!
One thing that we’ve learned from travelling around Australia that not everyone seems to fully appreciate is how harsh and unforgiving Australia’s landscapes can be, especially the more remote you go. It doesn’t take much to get unstuck in remote areas, and if you’re not prepared, the consequences can be dire. Here are the items we always try to have in our car when 4WDing or going bush.
AIR COMPRESSOR AND TYRE GAUGE
One way to trigger a heated debate around the campfire is to bring up the topic of tyre pressure. No matter peoples’ opinions, the fact is there are certain terrains where you’re going to want lower tyre pressures. Letting the tyres down can not only make your ride a lot more comfortable and put less stress on your car and gear, it can give you significantly more traction and quite often be the difference between getting stuck or carrying on.
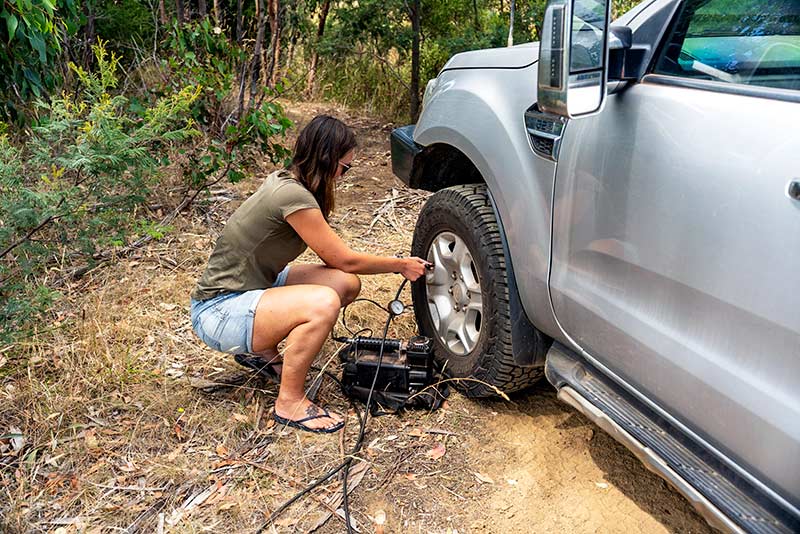
Once you have let some air out of the tyres, you need to be able to re-inflate them once you’re back on sealed roads – not doing so can cause considerable tyre damage. Having your own air compressor will make you less reliant on other drivers or a nearby service station with an air pump.
They are also useful when plugging a tyre, as in the anecdote above, or putting on a spare; more often than not the spare tyre won’t be inflated to the correct pressure straight off the car. Air compressors also have another great use: they are very handy for blowing up floaty water toys!
RECOVERY GEAR: REMOTE AREAS
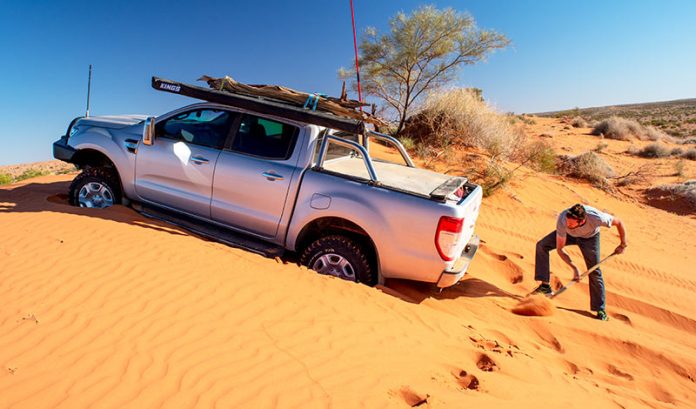
In the event that you do get bogged or stuck, having recovery gear will usually help get you going again. We’ve come across several people during our travels who had gotten bogged and were unable to get themselves out simply because they didn’t have the right gear with them.
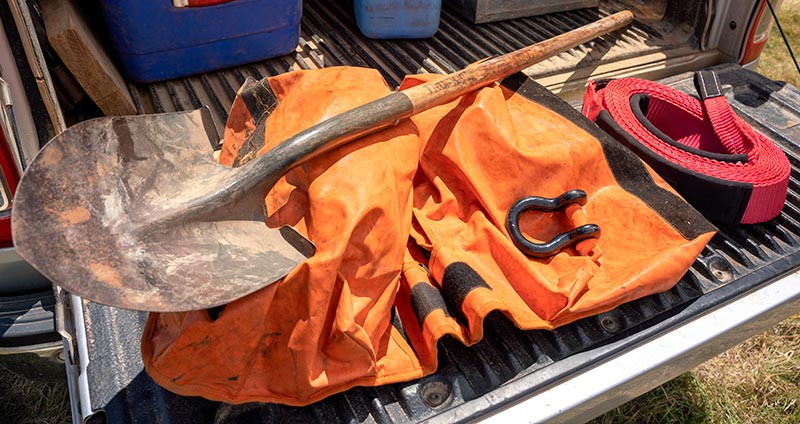
A long-handled shovel will go a long way in helping to remove mud or sand from around the tyres which may be enough to get you out. Other essential recovery gear include a snatch strap, rated D-shackles, and a dampener. Also, make sure that you have rated recovery points on your vehicle; tie-down points and the towball are not rated and can cause serious injury or death in the event of them being used in a snatch recovery.
FIRST AID KIT
It should be pretty obvious why this is on the list. Be sure to have a look through the kit when you first get it to be aware of where things are and to check if there’s anything that needs to be added to the kit, such as medication or snake bandages. Also, don’t forget to replace any parts you use so it’s there if you need it again.
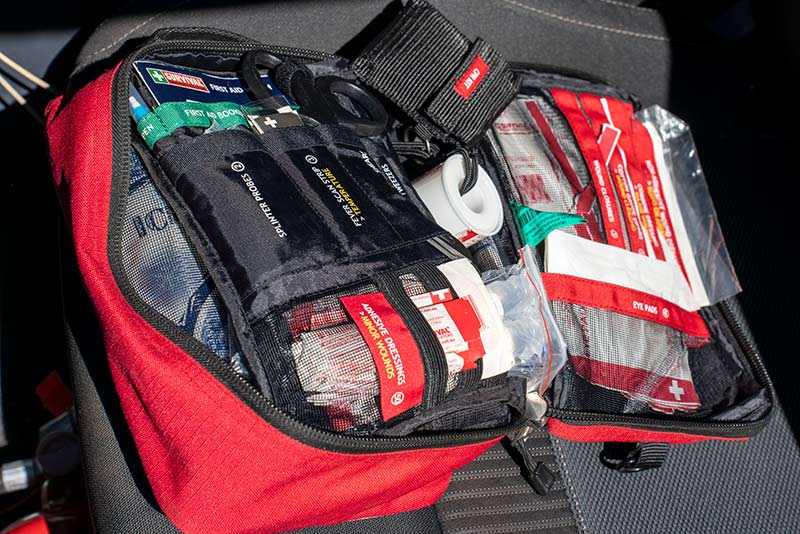
Most importantly, do a first aid course beforehand so you are confident in case of an emergency.
EMERGENCY COMMUNICATION
When it all goes pear-shaped, it’s crucial to be able to let someone know you need help, and you can’t rely on always having phone reception when you’re out bush. One option is a personal locator beacon, an ‘all-or-nothing’ approach which sends your exact location to emergency services and gets them on the way.
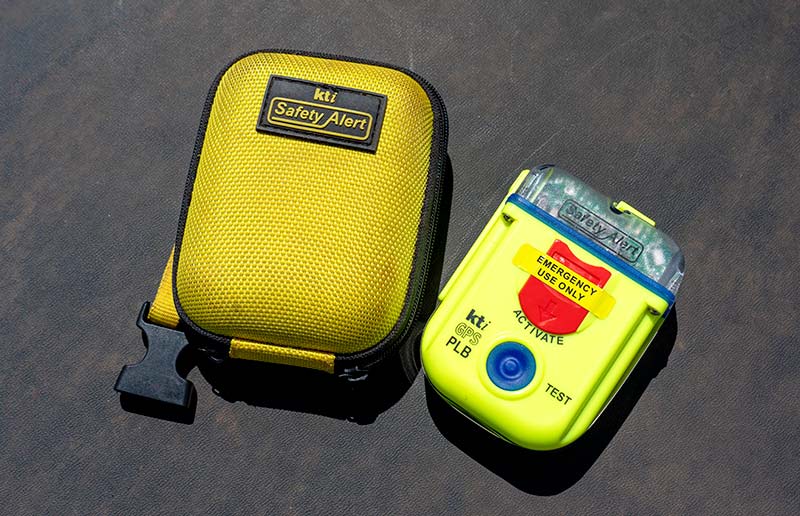
The advantage of this is that it’s a one-off cost – great if you’re a long-term traveller. However, there is no option to ask for help that’s not an immediate emergency (e.g., really bogged or broken down). Satellite messengers have the advantage in that they essentially turn your smartphone into a satellite phone, allowing you to send text messages from anywhere in the world. Basic versions are available, too, which can send pre-programmed messages, so you are able to let someone know that you need help that’s not necessarily life-threatening.
Another alternative is a satellite phone or phone sleeve. These allow you to call and/or text to let someone know where you are and exactly what the problem is. However, these are expensive to purchase and normally require a subscription (as does a satellite messenger), which can be costly if travelling for an extended period of time.
JERRY CANS
When going really remote, we always travel with two 20L jerry cans, one full of water and one of fuel. A lot of remote areas won’t have any water facilities, especially for potable water, so you are expected to bring your own. And if you get stuck out somewhere, having spare water can make all the difference to your survival.
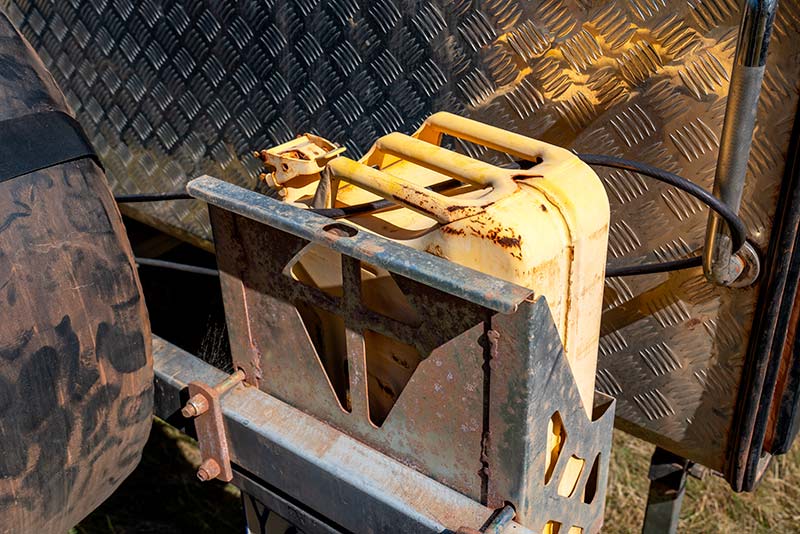
In regards to fuel, Australia is a vast country with some long distances between towns and supplies; therefore, spare fuel is essential!
As they say, ‘hope for the best but prepare for the worst!’ And with that mantra, you can be a lot more confident that if anything goes wrong, you’ll be ready to tackle it and continue on your way.


